So, you want to paint/draw the Eiffel tower, but you don’t know where to begin? No worries. Lucasso’s got you covered.
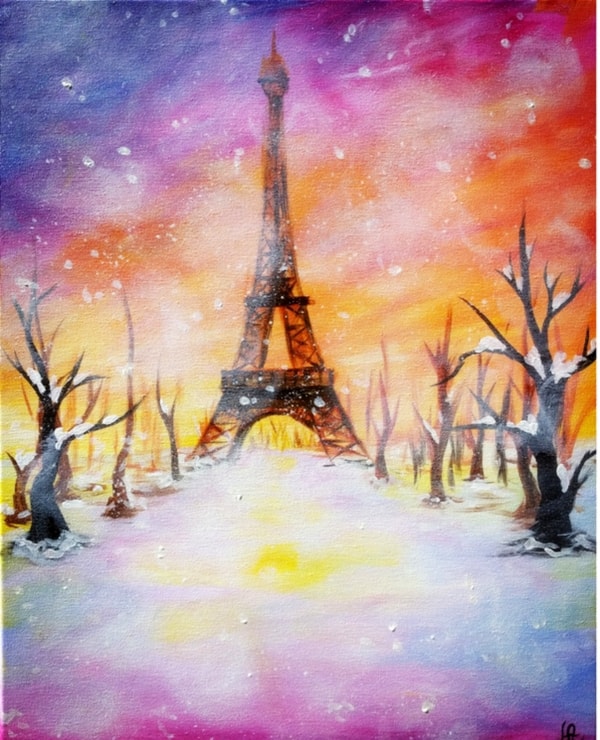
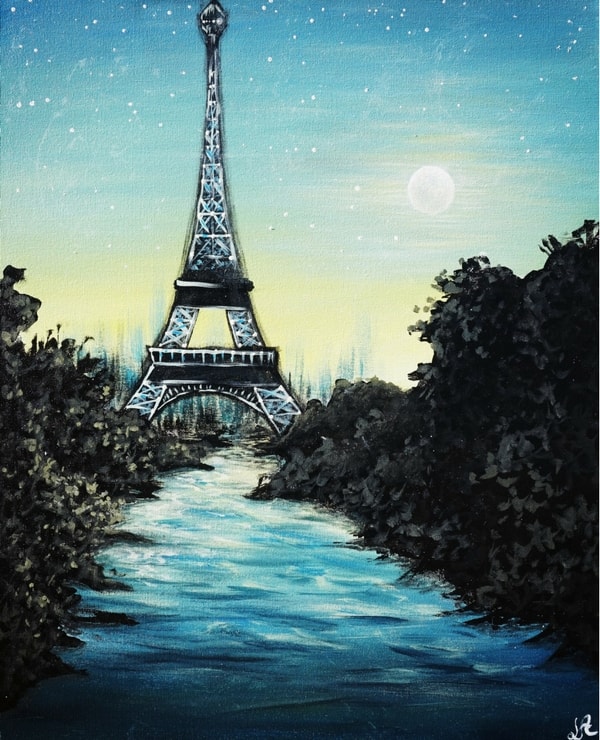
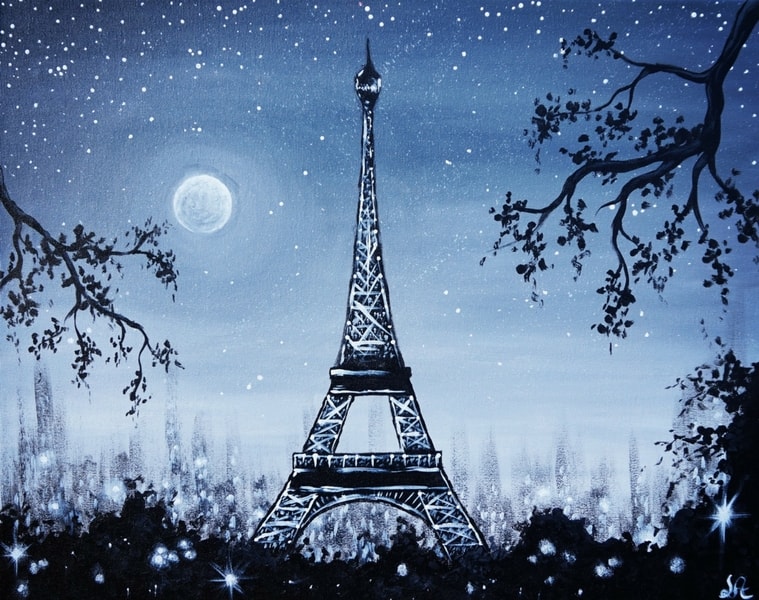
Above are a few Eiffel Tower Paintings I have painted, for your viewing pleasure
Just The Basics!!!
Before I delve into the nitty-gritty, it’s important we get on the same page.
First, if you have not read my about page, I’d recommend doing so. It’ll give you a little background on what I do.
For those of you who have read the about page, you know I do Paint Nite events and that it is almost impossible to dive into too many details during those events. This means I often have to keep instructions sweet and to the point.
The argument above means two things;
First, this tutorial is not meant to teach how to paint/draw a “perfect” Eiffel tower. In other words, this tutorial will not help you paint/draw an exact replica of the Eiffel Tower. For an exact replica, you’ll have to look up Eiffel Tower specs, or take a more in-depth painting class.
My goal is simple. Help you paint an Eiffel tower that is good enough to be recognized by most of your friends and family, as The Eiffel Tower.
Second, it means that I have to have a solid algorithm. Yes. Algorithm. I came up with one to paint/draw the Eiffel tower relatively easily. You follow the basic guidelines I laid out below, and you’ll be well on your way to recreate that beautiful monument with ease.
Without further a do, let’s jump into the subject.
Algorithm? Whaaaattttt!?!?!?
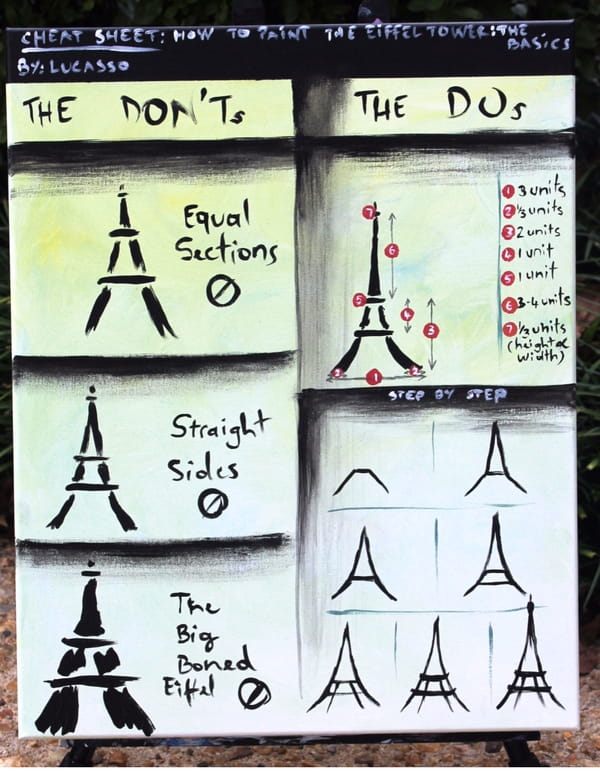
Here is my cheat sheet illustration. I believe it speaks for itself but, for more details on what the labeling on the cheat sheet means, read on.
So, let me back up for one sec. I’m sure you’ve read algorithm, and you thought to yourself “algorithm & art? how?”. Simple. I believe art and sciences are not as different as most people think. Artists use algorithms ALL the time while creating works of art. Myself included.
An algorithm (in short) is simply a set of instructions you follow to get you from point A to point B. By that definition, a marble cake recipe is an algorithm. First, you do a. Then you do b. Then you do c. Et voila, you have a marble cake.
When your friends give you directions to their house, that is also an algorithm. First, you take a right where the homeless guy with the red hoodie is. Then you take a left by the 7-eleven with the missing “v” in the logo. Et voila, you’re at my house.
Algorithms get a bad rap because I believe most people hear the word and they think high school pre-calculus and they start over-ventilating.
Algorithms aren’t that bad. In an upcoming post, I’ll talk about how art and sciences are much more similar than we all think. For now, let me tell you about my algorithm for easily painting/drawing one of the world’s most gracious monument.
By the way, I have tested this algorithm. If you don’t believe me, below are the pics to show it. I used the algorithm with different “units” and it worked for all of them.
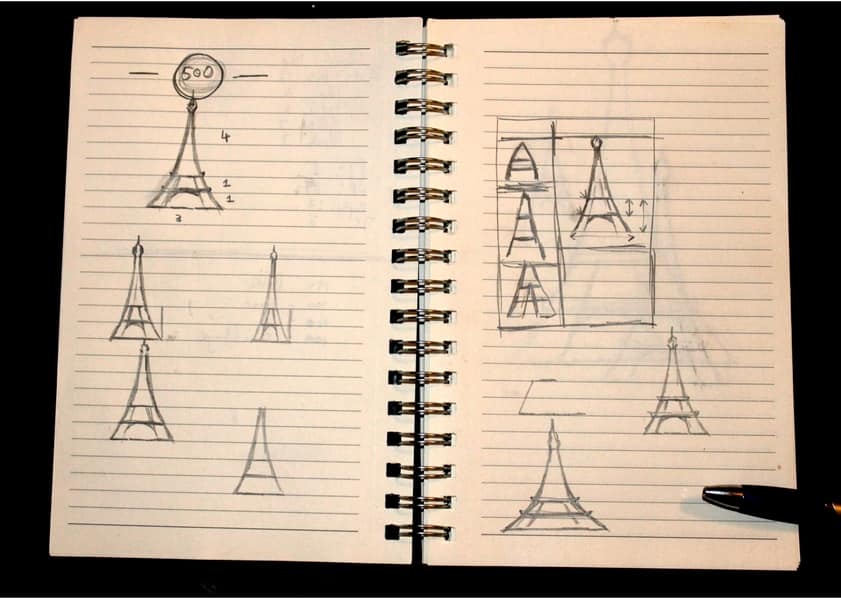
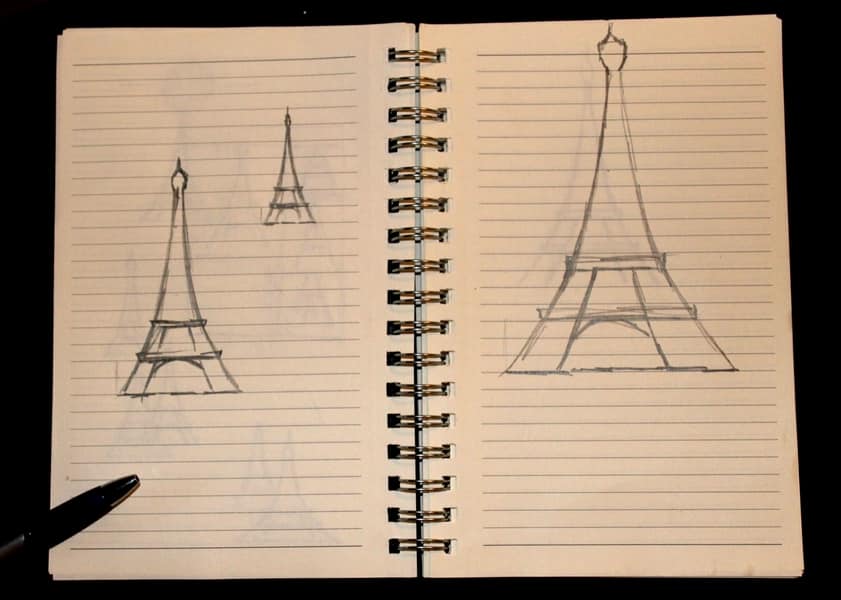
The Don’t(s)
First, let’s talk about the “Dont’s”.
Most of us think Eiffel tower and they think three equally tall sections. I this because I have seen it time in and time in again at my events. The three are not of the same height. The first two bottom sections are of similar heights. The third (top section) is much taller than what most of us think. You can refer to the cheat sheet to see and illustration of that.
The second “don’t” has to do with proportions. In our attempt to simplify processes we often over-simplify. In the case of the Eiffel tower, too many of us think of the outside lines that make up the Eiffel tower as being straight lines. They are not. The lines curve to the inside. Getting the right proportion (using the algorithm) will help with the proper curvature.
The third “don’t” is more technical than conceptual. Some of us get heavy handed, and we end up painting an Eiffel tower that is “too big”. To fix this simply refer to the good stroke, which I explained in a previous cheat sheet
The Do’s
Now onto the “do’s”.
For this, let’s begin with “the unit”. This unit can be measured/used using any unit of measurement (centimeters, milliliters, inches etc). “The unit” can be of any length. It can be 1 inch, 3 centimeters, or 10 feet.
The Specs
Using “The unit”, here’s is how the Eiffel tower specs breakdown: (You can refer to the cheat sheet for a more visual illustration.)
The base of the Eiffel tower (1) ~ 3 units.
The width of the “legs” of the Eiffel tower (2) ~ 1/3 unit.
The two first sections (3) ~ 1 unit(each). total for both (4) ~ 2 units
The width of the to middle section (top of trapezoid) (5) ~ 1 unit
The third and top section (6) ~ 3-4 units (told you it was much taller).
The top of the Eiffel tower (7) is a square that is about 1/3 unit (each side).
The Step-By-Step (The Algorithm):
- Paint a (bottom-less) trapezoid. If you don’t know what a trapezoid is, refer to the picture of the cheat sheet. The dimensions for the trapezoid are:
- Top-width: 1 unit.
- Height: 2 units.
- Bottom-width: 3 units.
- NOTE: Though the bottom width is three units, DON’T PAINT IT. Simply use the width as a reference to know where the sides end.
- Paint a triangle atop the trapezoid. Again refer to the picture for the visual. The dimension for the triangle are:
- Bottom-width: 1 units. (same as top of the trapezoid).
- Height: 3-4 units.
- NOTE: Make sure the top of the triangle is centered vertically. In other words, if you were to draw a line from the top of the triangle down to the bottom of the Eiffel Tower, it’d divide the Tower in half (vertically).
- Round out the area where the triangle and the trapezoid meet so that the angles are not so sharp.
- Paint a line at the horizontal center of the trapezoid.
- Paint two lines on the inside of the trapezoid, to make up the legs. The lines should be about parallel with the sides of the trapezoid. The legs of should be about 1/3 of a unit in width.
- Paint two short (in height) rectangles atop each of the two horizontal lines. Rectangles should be no taller than 1/4 of a unit, but can be as short as 1/10th of a unit.
- Paint the top of the Eiffel Tower. It’s a square with about 1/3 unit in height and width. It also has a line at the top that is about 1/3 of a unit.
So, there you have it. A beautiful, recognizable Eiffel tower. There are some more details that can be added, such as the small lines that make up the tower, but those are just extraneous details. This is only a basics tutorial. If you enjoy it and/or find it use, let me know. I might do a cheat sheet to add more details to the tower.
Thanks for reading and as always. #StayCreative.
2019 Update
So, since I published this post last year, I’ve found an easier way to draw/paint the Eiffel Tower.
You can still use all of the specs I talked about before this update.
The update is simply to give fellow artists an easier way to get the basics of the Eiffel Tower down.
First, the revamped Cheat Sheet:

I’ve also created a video to illustrate this newer easier way of drawing/painting the Eiffel Tower.
Here it is:
I’m not perfect (OBVIOUSLY). But I am trying. If there’s anything I can do help you paint/draw better Eiffel Towers, leave a comment below and let me know.
You can also follow me on IG or FB.
Cheers.

Leave a Reply